Opel Corsa B 1993–2000 Service and Repair Manual: Radio/cassette unit - removal and refitting
Removal
1. All models are fitted with at least a radio, and most leave the factory with a combined radio/cassette player. This Section outlines removal and refitting procedures for the standard fitment equipment.
Early models
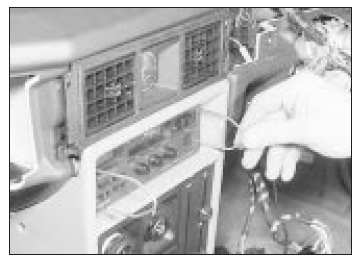
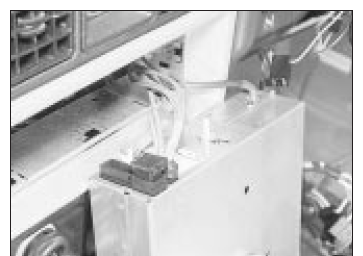
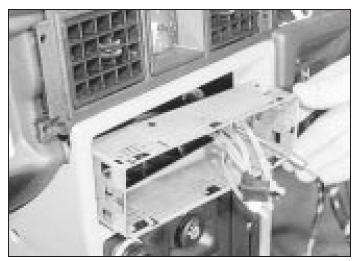
2. Radio/cassette units are to the latest DIN standard; they are released by inserting two special clips into the holes on each side of the unit. The clips are pressed in until they snap into place, then used to pull the radio out of its aperture. The various plugs can then be removed from the rear of the radio (see illustrations).

Inserting the special clips for radio
removal

Removing the radio from its aperture
3. The special clips used to release the radio should have been supplied with the car; if not, they can be obtained from a car entertainment specialist.
4. With the radio removed, its surround can be removed if necessary by unclipping it (see illustration).
5. To refit the radio, reconnect its plugs and push it home until the retaining springs click into place.

Removing the radio surround
Later (1989 onwards) models
6. For the 1989 model year, various anti-theft measures were introduced on the factory-fitted radio/cassette players. These are as follows:
- Blanking screws in removal holes.
- Serial number embossed in housing.
- Electronic coding of most units.
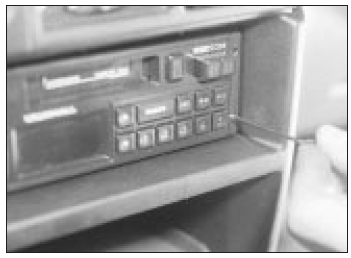
7. The blanking screws must be removed with an Allen key before the unit can be removed (see illustration). Removal is then carried out by inserting two special clips as described in paragraph 2.
8. The wiring connections on later units are made automatically by special connectors which engage as the unit is pushed home.
Adapters are available to enable later units to be fitted to earlier models, and vice versa.
9. Units with electronic coding will not function after an interruption of the power supply until a 3-figure security code, determined by the original owner of the unit, is keyed in. Only 8 attempts at coding are allowed, after this the unit will be mute and will have to be returned to the manufacturer for decoding. More details of this procedure are contained in the operating instructions supplied with the unit.

On later models it will be necessary to
remove the blanking screws to be able to
insert the removal tools
 Check control system - general
information
1. Fitted to some higher specifications
models, the check control system monitors
important fluid levels, brake pad wear and
bulb failure. A bank of six or seven warning
lights to the left of the ...
 Loudspeakers - removal and
refitting
Removal
1. Loudspeakers are positioned one at each end of the facia panel, and (on
some models) one at each end of the parcel shelf or in the tailgate. Removal and
refitting are self-explanatory ...
See also:
Opel Corsa B 1993–2000 Service and Repair Manual. Manual gearbox
Noisy in neutral with engine running
Input shaft bearings worn (noise apparent with clutch pedal
released, but not when depressed).*
Clutch release bearing worn (noise apparent with clutch ped ...
