Opel Corsa B 1993–2000 Service and Repair Manual: Timing gear components - removal and refitting
Removal
1. For greater access remove the front right-hand wheel trim and slacken the wheel bolts. Jack up the front of the car, support it securely on axle stands and remove the roadwheel.
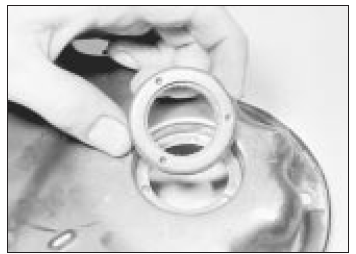
2. Undo the four retaining bolts and remove the clutch access plate at the base of the bellhousing (see illustration).
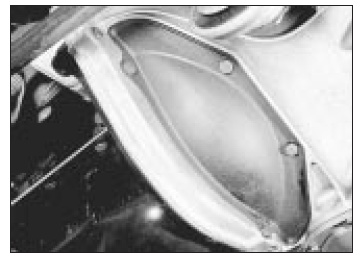
Clutch access plate
3. Slacken the alternator mounting and adjustment arm bolts, move the alternators towards the engine and slip the drivebelt off the pulleys.
4. Lock the flywheel by wedging a screwdriver between the ring gear teeth and the side of the bellhousing.
5. Using a socket or spanner undo the crankshaft pulley retaining bolt and withdraw the pulley.
6. Undo the bolts securing the timing cover to the front of the engine and lift off the cover.
7. Withdraw the oil slinger from the crankshaft, noting which way round it is fitted (see illustration).
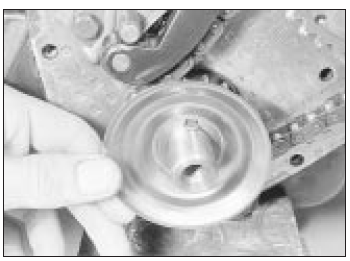
Crankshaft oil slinger
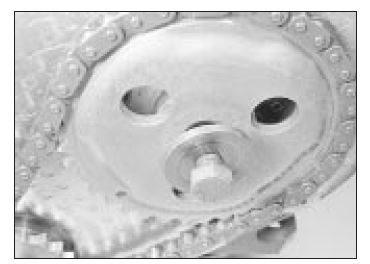
8. Temporarily refit the pulley and turn the crankshaft until the crankshaft sprocket keyway is uppermost and the timing marks on the two sprockets are in alignment (see illustration). Remove the pulley.
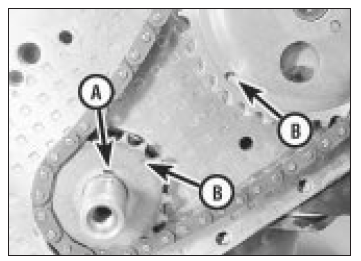
Crankshaft sprocket keyway (A) and
sprocket timing marks (B)
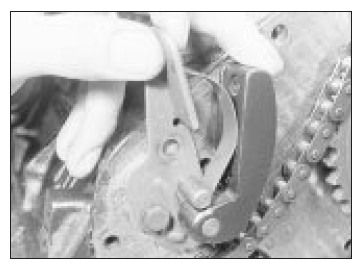
9. Undo the two retaining bolts and remove the timing chain tensioner. One of two types of tensioner may be fitted: simple spring-operated, or oil pressure assisted. With the oil pressure assisted type, restrain the thrust pad to prevent premature ejection of the tensioner components (see illustration).
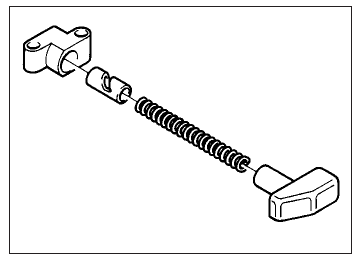
Timing chain tensioner - oil pressure
assisted type
10. Undo the camshaft sprocket retaining bolt and remove the bolt and washer (see illustration). Place a screwdriver through one of the sprocket holes and in contact with the camshaft retaining plate behind the sprocket to stop it turning as the bolt is undone.
Camshaft sprocket retaining bolt
and washer
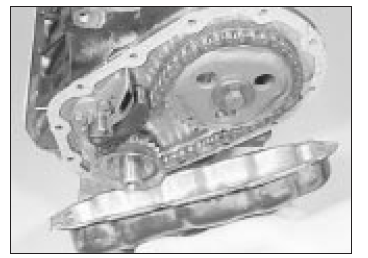
11. Withdraw the camshaft sprocket and crankshaft sprocket from their respective locations, using a screwdriver as a lever if necessary, then remove the sprockets complete with chain (see illustration).
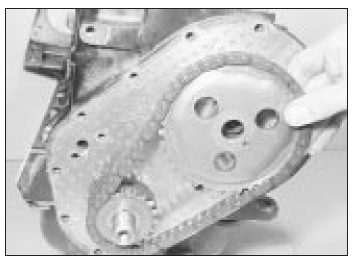
Removing the sprockets and timing
chain
12. Thoroughly clean all the components in paraffin and dry them with a lint-free cloth.
Remove all traces of old gasket from the faces of the timing cover and engine.
Refitting
13. To renew the oil seal in the timing cover, place the cover outer face downwards over two blocks of wood and drive out the old seal and holder using a hammer and drift (see illustration).
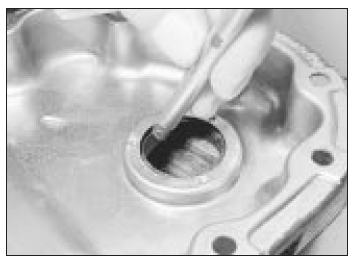
Using a drift to remove the timing
cover oil seal
14. Place the new seal (which must have been soaked in engine oil for 24 hours) in the holder and then tap the holder into the cover using a block of wood (see illustrations). The seal holder must be fitted flush with the outer edge of the timing cover.
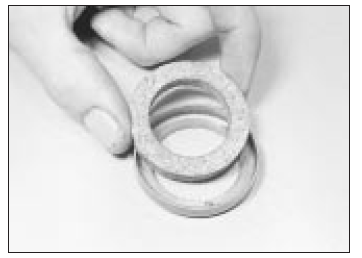
Fit the new seal to the holder
. . . and refit the holder and seal to
the timing cover
15. Commence reassembly by engaging the chain around the crankshaft sprocket.
16. Engage the camshaft sprocket within the loop of the chain so that it can be fitted to the camshaft and will have its timing mark in alignment with the one on the crankshaft sprocket. Adjust the camshaft sprocket as necessary within the chain loop to achieve this.
17. Fit the sprocket to the camshaft, screw in the bolt and washer and tighten the bolt while holding the sprocket with a screwdriver, as was done during removal.
18. Refit the timing chain tensioner. With the oil pressure assisted type, compress the thrust pad by hand, secure the tensioner and release the thrust pad.
19. To refit the spring-operated chain tensioner, place the tensioner in position and fit the lower retaining bolt finger tight. Move the spring blade away from the tensioner body with a screwdriver, pivot the tensioner into position and fit the upper retaining bolt, then release the springs and tighten both bolts (see illustrations).
Fit the tensioner lower bolt . . .
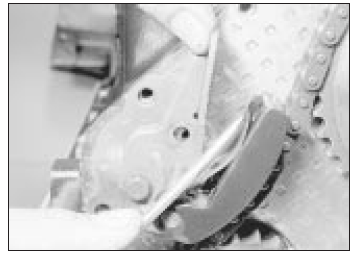
. . . then push back the spring, pivot the tensioner and fit the upper bolt
20. Position the oil slinger over the crankshaft and place a new gasket on the front of the engine (see illustration). Apply jointing compound to both sides of the gasket.
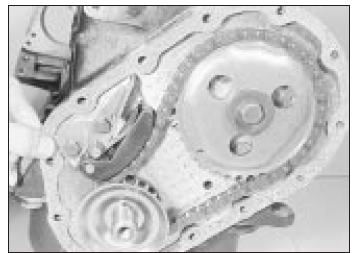
Fitting a new timing cover gasket
21. Refit the cover and the retaining bolts, but only screw the bolts in two or three turns (see illustration). Position the crankshaft pulley on the crankshaft to centralise the cover and then tighten the bolts progressively in a diagonal sequence.
Refitting the timing cover
22. Refit the pulley retaining bolt and tighten to the specified torque.
23. Refit the drivebelt and adjust its tension.
24. Refit the roadwheel and lower the car to the ground. Tighten the wheel bolts.
 Oil pump - removal and
refitting
Oil pump - removal and
refitting
Removal
1. Remove the sump.
2. Undo the two socket-headed bolts and
withdraw the pump from the crankcase (see
illustrations).
Undo the two socket-headed bolts
(arrowed) . . .
. . . and re ...
 Pistons and connecting rods
- removal and refitting
Pistons and connecting rods
- removal and refitting
Removal
1. Remove the cylinder head, the sump and
the oil pump, as described in earlier Sections.
2. The connecting rod big-end caps and rods
may not be marked numerically for location
when new a ...
See also:
Opel Corsa B 1993–2000 Service and Repair Manual. General information
1.3 and 1.4 litre carburettor models
On all 1.3 litre models a Delco breakerless
electronic ignition system is used. The system
comprises solely of the HT ignition coil and
the distributor, the di ...
