Opel Corsa B 1993–2000 Service and Repair Manual: Front brake pads - renewal
Warning: Renew both sets of front brake pads at the same time - never renew the pads on only one wheel as uneven braking may result. Note that the dust created by wear of the pads may contain asbestos, which is a health hazard. Never blow it out with compressed air and don't inhale any of it. An approved filtering mask should be worn when working on the brakes. DO NOT use petroleum-based solvents to clean brake parts. Use brake cleaner or methylated spirit only.
1. Raise the front of the vehicle. If the roadwheels have been balanced on the vehicle (new vehicles are balanced this way in production) then mark the relative position of the roadwheel to the hub so that it can be aligned correctly when refitting.
2. Inspect the thickness of the friction material on each pad. If any one is at or below the specified minimum, renew the pads as an axle set (four pads) in the following way.
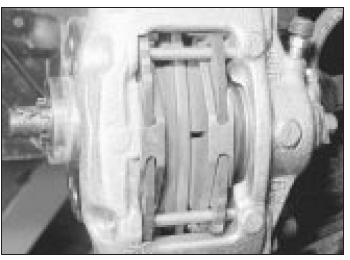
GMF and early ATE type caliper
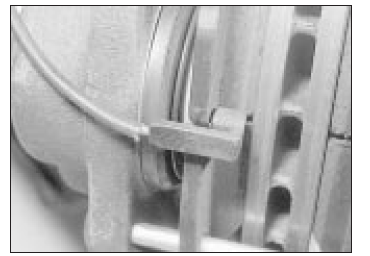
3. Drive out the pad retaining pins by applying a punch to their inboard ends.
4. Remove the springs and, where necessary, remove the pad wear warning sensor from the pad (see illustrations).
Removing an anti-rattle spring
Wear warning sensor clipped to pad
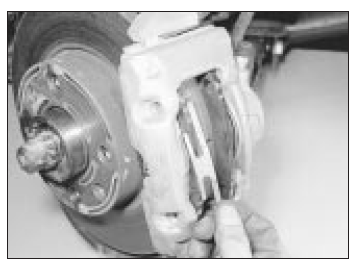
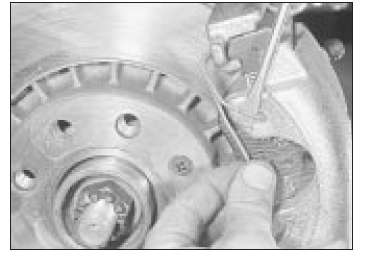
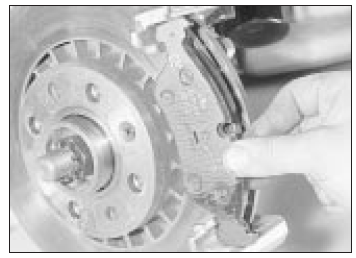
5. Using a pair of pliers, withdraw the outboard pad (see illustration).

Removing the outboard pad
6. Remove the inboard pad. If it is very tight, move the pad sideways slightly to depress the caliper piston (see illustration).
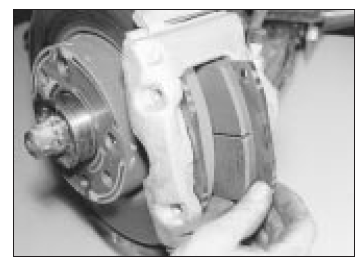
Removing the inboard pad
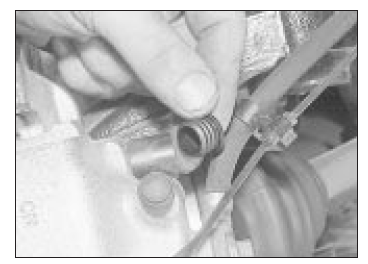
7. In order to accommodate the new thicker pads, the caliper piston must be depressed fully into its cylinder using a flat bar of metal such as a tyre lever. The action of depressing the piston will cause the fluid in the reservoir to rise, so anticipate this by syphoning some off using an old (clean) hydrometer or similar.
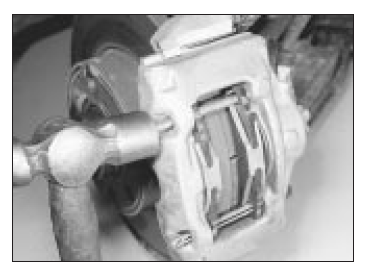
8. Brush out the jaws of the caliper, taking care not to inhale the dust.
9. Insert the pads, making sure that the lining side is against the disc. When fitting disc pads supplied by the vehicle manufacturer, it may be found that two pads out of the four have white marks on their backing plates. Where this is the case, the pads with the marks should be fitted to the piston sides of the calipers.
10. Locate the springs correctly and drive in the retaining pins (see illustrations).
Inserting disc pad pin
Pad retaining pins and anti rattle
springs correctly fitted
11. Repeat the operations on the opposite brake.
12. Refit the roadwheels and lower the vehicle.
13. Apply the footbrake hard several times to position the pads against the discs.
14. Top-up the fluid reservoir to the correct level.
15. New brake pads need to be carefully bedded in and, where possible, heavy braking should be avoided during the first 120 miles (200 km).
Later ATE type caliper
16. Extract the pad wear warning sensor and move it aside (see illustration).
On later ATE type calipers, unclip the
pad wear sensor . . .
17. Lever the ends of the spring clip from their locations and remove the clip (see illustration).
. . . then lever out the spring clip
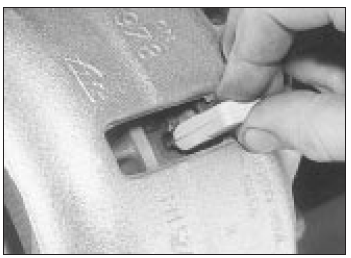
18. Remove the dust caps from the slide bolts (see illustration).
Removing a dust cap from a slide bolt
19. Using a 7 mm Allen key, unscrew the slide bolts and remove them.
20. Lift the caliper body and inboard pad off the disc. The outboard pad will stay on the bracket (see illustration). Support the caliper body, or tie it up with a piece of wire, so that the flexible hose is not strained.
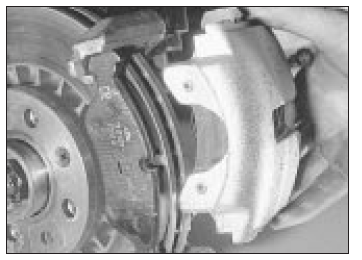
Lift the caliper off the disc . . .
21. Unclip the inboard pad from the caliper piston and lift the outboard pad off the bracket (see illustrations). Clean the caliper and bracket.
. . . then unclip the inboard pad from
the caliper piston . . .
. . . and remove the outboard pad
from the caliper bracket
22. If new pads are to be fitted, press the piston back into its bore. As the piston is pushed back, the fluid level in the master cylinder will rise. Syphon some fluid out if necessary with an old (clean) poultry baster or battery hydrometer.
23. Make sure that the steps of the caliper piston are positioned as shown (see illustration).
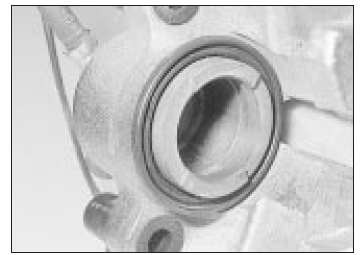
Prior to fitting the pads, ensure that
the caliper steps are positioned as shown
24. Fit the inboard pad to the piston and the outboard pad to the bracket. Fit the caliper to the bracket and secure it with the slide bolts tightening them to the specified torque. Fit the dust caps.
25. Refit the pad wear warning sensor.
26.Carry out the operations described in paragraphs 11 to 15.
 Hydraulic pipes and hoses -
renewal
Hydraulic pipes and hoses -
renewal
Note: Before starting work, refer to the note at
the beginning of Section 2 concerning the
dangers of hydraulic fluid.
1. If any pipe or hose is to be renewed,
minimise fluid loss by removing the ...
 Rear brake pads - renewal
Warning: Disc brake pads must
be renewed on both rear wheels
at the same time. Never renew
the pads on only one wheel as
uneven braking may result. Also, the dust
created by wear of the pads may ...
See also:
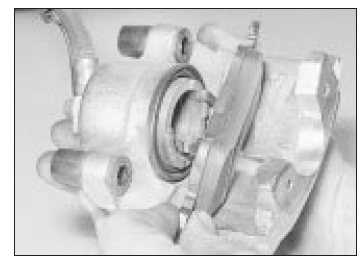
Opel Corsa B 1993–2000 Service and Repair Manual. Front hub bearings - renewal
1. Remove the suspension strut.
2. Remove the securing screw and take off
the brake disc.
3. Support the steering knuckle and press or
drive out the hub. Alternatively, draw off the
hub by screwi ...
